 tetoblog
本記事ではReactNativeで画像を表示する方法について解説しています。ReactNativeは解説の記事が非常に少なく、簡単な一方で学習につまずきやすいです。そんなReactNativeでImageタグを利用して画像を表示する方法を解説します!
目標
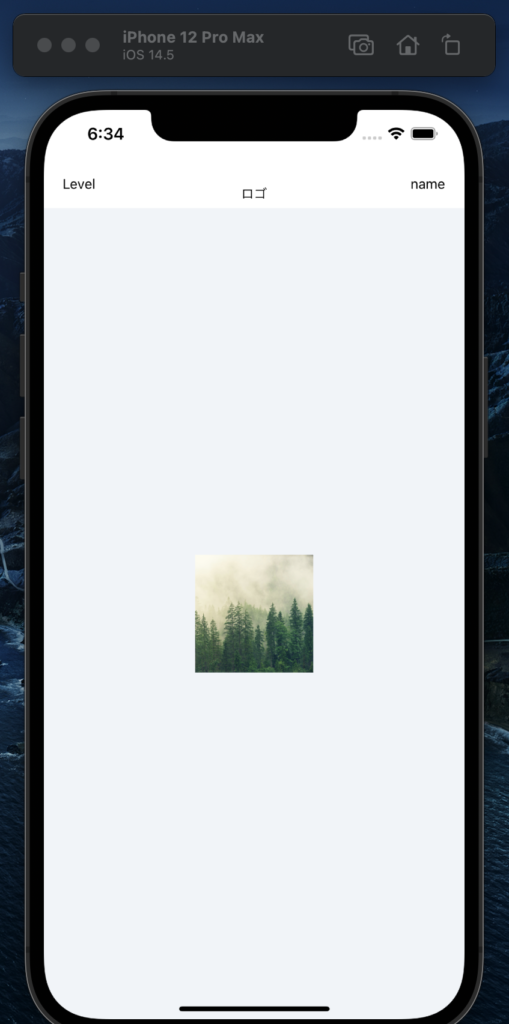
下の画像のように、assetsに保存してある画像を表示します。
assetsに表示したい画像を保存しておきましょう。
assetsフォルダに表示したい画像を保存
Imageタグの読み込みをします。
App.jsなどの作業しているコードの先頭にインポートしておきましょう。
import { StyleSheet, Text, View, Image } from 'react-native';本質のコード
下のコードのように、Imageタグで、「source={require(パス)}」とすることで画像の表示が可能です。
ここで重要なことはstyleを指定しておくことです。値は自由ですが、「width」と「height」を書いて置かなければ出力されません。
<Image style={width: 120, height: 120,}source={require('./assets/tree.jpg')}/>widthとheightを絶対に指定!
もう一度いいます。
「width」と「height」を書いて置かなければ「エラー」か、「何も表示されない」のどちらかになります。
styleの中で必ず、「width」と「height」の値を指定しおきましょう。
ここでつまずく方が多いのでお忘れなく!
【補足】画像を12枚表示するコード

画像を12枚表示するコードを作成しました。
ポイントは72〜75行目で、まとめてImageのスタイルを指定していることですかね。
全く難しいコードではないので、よく見れば理解できるかと思います。
import React from 'react';
import { StyleSheet, Text, View, Image } from 'react-native';

import Clicks from './src/components/Clicks'

export default function App() {
  return (
    <View style={styles.container}>
      <View style={styles.topbar}>
        <View style={styles.topbarInner}>
          <Text style={styles.topbarLeft}>Level</Text>
          <Text style={styles.topbarCentar}>ロゴ</Text>
          <Text style={styles.topbarRight}>name</Text>
        </View>
      </View>

      <View style={styles.mode}>
        <View style={styles.modeRow1}>
          <Image style={styles.modePictures}source={require('./assets/tree.jpg')}/>
          <Image style={styles.modePictures}source={require('./assets/tree.jpg')}/>
          <Image style={styles.modePictures}source={require('./assets/tree.jpg')}/>
          <Image style={styles.modePictures}source={require('./assets/tree.jpg')}/>
        </View>
        <View style={styles.modeRow2}>
          <Image style={styles.modePictures}source={require('./assets/tree.jpg')}/>
          <Image style={styles.modePictures}source={require('./assets/tree.jpg')}/>
          <Image style={styles.modePictures}source={require('./assets/tree.jpg')}/>
          <Image style={styles.modePictures}source={require('./assets/tree.jpg')}/>
        </View>
        <View style={styles.modeRow3}>
          <Image style={styles.modePictures}source={require('./assets/tree.jpg')}/>
          <Image style={styles.modePictures}source={require('./assets/tree.jpg')}/>
          <Image style={styles.modePictures}source={require('./assets/tree.jpg')}/>
          <Image style={styles.modePictures}source={require('./assets/tree.jpg')}/>
        </View>
      </View>
    </View>
  );
}

const styles = StyleSheet.create({
  container: {
    flex: 1,
    backgroundColor: '#F0F4F8',
  },
  topbar: {
    width: '100%',
    height: 100,
    backgroundColor: '#FFFFFF',
    justifyContent: 'flex-end',
  },
  topbarInner:{
    alignItems: 'center',
    bottom: 8,
  },
  topbarRight:{
    position: 'absolute',
    right: 19,
    bottom: 8,
  },
  topbarLeft:{
    position: 'absolute',
    left: 19,
    bottom: 8,
  },
  mode:{
    alignItems: 'center',
    justifyContent: 'center',
    flex: 1,
    flexDirection: 'row',
  },
  modePictures: {
    width: 120,
    height: 120,
  },
});
ということで本記事は、
ReactNativeでImageタグを利用して画像を表示させる方法を解説しました!
最後まで読んでいただき、ありがとうございました\(^o^)/
おすすめ書籍
高評価レビュー多数の有名書籍です!
ReactNativeの参考に、持っていて間違いない一冊ですよ\(^o^)/
超オススメのPC用品
PCを操作する上で、トラックボールマウスが非常におすすめです!
僕も感動したこのマウスを、騙されたと思って使ってみてください!(^^)
外部モニターで2倍以上の効率化が見込めます!
安いものだと、たったの1万円前後なのでおすすめですよー!\(^o^)/